Everything a fleet or brand manager should settle before the first truck is wrapped.
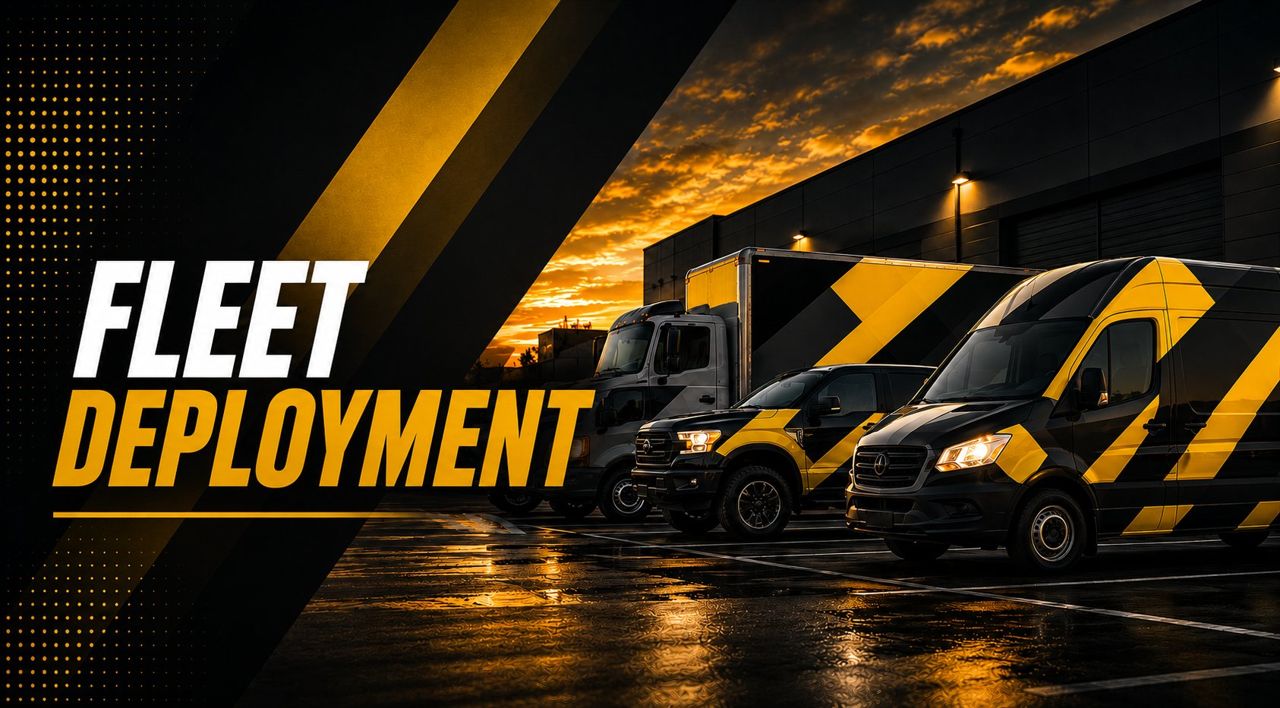
A fleet rollout is a logistics project that happens to involve vinyl. Fifty trucks in four cities, each one out of service for a day, each one needing the right panels, the right installer and the right compliance markings, all finished to one visual standard — the graphics are the easy part. This checklist is the one we work through with clients before a fleet program starts. Use it to plan your own, whether you run it with us or not.
List every unit with year, make, model, body type, unit number, current graphics, home yard and the person who controls its schedule. Photograph each vehicle from both sides and the rear. Note body damage, repaints, rust and old adhesive, because those decide prep time and film choice. A spreadsheet with a row per vehicle is the backbone of the whole program.
A pickup, a cargo van and a 26-foot box truck will not carry the same layout. Approve one standard per body type — placement, scale, which panels, where the compliance markings sit — and have the installer confirm it works around door handles, rivet rows, roll-up doors and fuel caps before anything is printed. Build the vehicle templates from measurements of your actual units, not generic outlines.
Legal name and USDOT number on both sides, plus whatever your states require — MC number, state carrier numbers, GVWR, unit numbers. Confirm this before design is final so the markings are part of the layout, not an afterthought stuck on afterward. The free compliance checker on Fleet Decal Depot is the quickest way to confirm what each state wants, and ordering the decals labeled by unit number means the installer never sorts numbers in the yard.
Install the full standard on one unit of each body type before printing the rest. Photograph it, walk it with the stakeholders, fix what is wrong, and then print. This single step prevents the most expensive mistake in fleet graphics: a misaligned logo repeated fifty times.
Agree with operations how many vehicles can be down per day at each yard, which days are off-limits, and what time trucks return. Build the schedule in waves — three or four units per installer per day for partial graphics, fewer for full wraps — and sequence yards so printed panels and installers arrive together. Keep a buffer for weather at outdoor yards and for the inevitable truck that is out on a route when its slot comes up.
Every yard has rules: gate access, visitor badges, safety vests, where installers can park, whether there is a bay with power and lighting. Many require a certificate of insurance before anyone arrives. Collect these requirements per site and hand them to the installer in advance so day one is spent installing, not waiting at the gate.
Define what "done" means: film fully adhered with no lifting edges, no trapped air or dirt visible from a set distance, compliance markings level and legible, panels aligned to the template within a stated tolerance, old graphics and adhesive fully removed. Require before-and-after photos of every unit and a sign-off per vehicle. That document is what you will rely on if a panel lifts in month three.
If vehicles carry old graphics, removal and adhesive cleanup can take as long as the new install. Budget for it, and check whether any panels are repainted or damaged, because those need a different approach. See our removal service for what is involved.
For a multi-yard rollout, a weekly or daily status against the vehicle list — done, in progress, pending, blocked and why — keeps everyone from fleet managers to the marketing team working from the same facts. It is also how you catch a yard that is slipping before it becomes a problem.
Drivers and wash contractors need to know what not to do: no pressure washing at the edges, no brush car washes for the first weeks, no fuel left on the film. Our wrap care guide is a good one-page handout.
Wrap It! runs fleet programs across every U.S. market with local certified installers and one point of contact. If you would rather hand this list to someone, send us the fleet.
Send the scope and location. We'll match it to certified installers and manage the job through one point of contact.
Request a Quote