The bounding box, letter height for viewing distance, and the panel seams that decide where lettering can go.
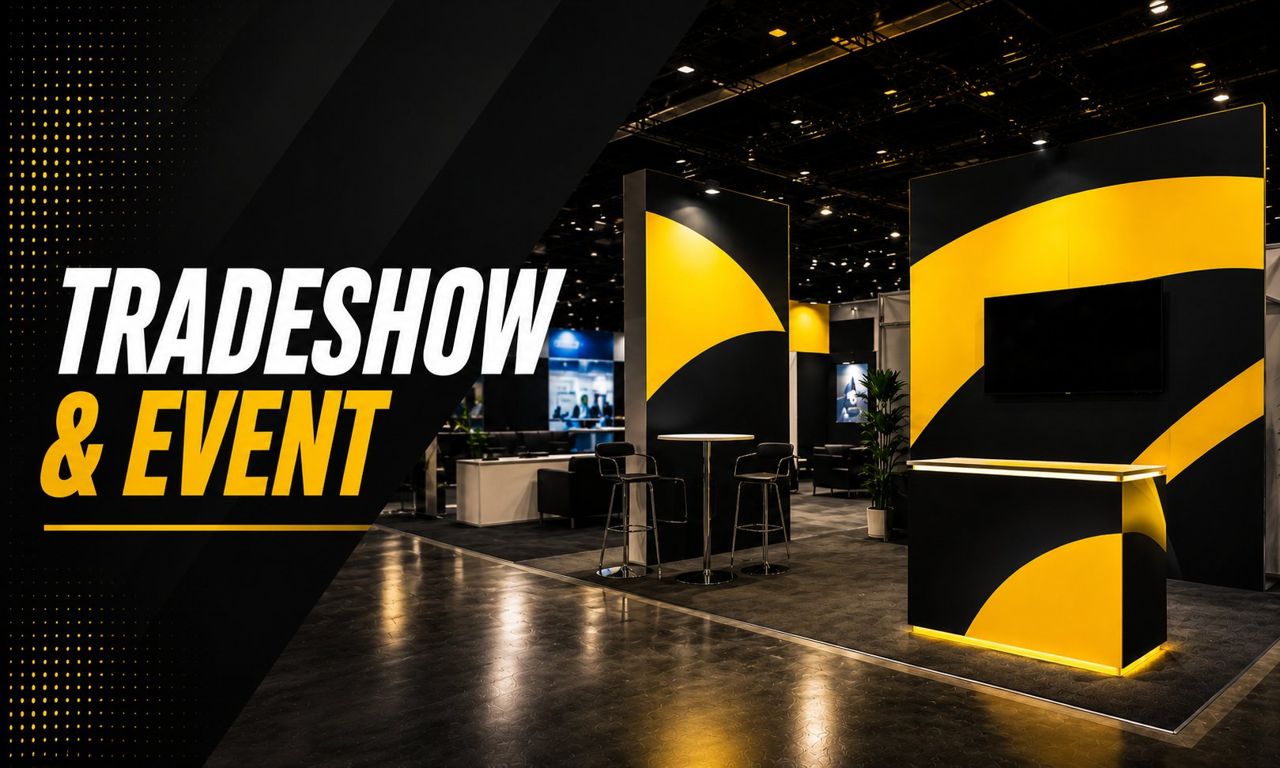
Booth lettering is priced and cut by size, so the measurement you send is the one number worth getting right. This guide covers the three things that matter: the bounding box, the letter height, and the clear space on the wall.
The bounding box is the smallest rectangle that holds everything you want cut: every letter, the logo, the tagline and the gaps between them. Measure its overall width and overall height in inches. A logo 30 inches wide sitting to the left of a company name 70 inches wide, with 4 inches between them, has a bounding box 104 inches wide, even though no single piece is that long. Height works the same way: from the top of the tallest element to the bottom of the lowest one, including the space between lines.
Square footage is width × height ÷ 144. A 60 × 20 inch layout is 1,200 square inches, or 8.3 sq ft.
Measure the surface the lettering goes on first: the panel, the header or the counter face. Then decide how much clear space you want around the lettering so it doesn't look jammed against a frame, a seam or the edge of the counter. Your bounding box is what is left inside that margin.
Write down anything that sits on the wall during the show (monitors, shelves, brochure holders, light bars, the booth number sign) and keep the lettering clear of it. A photo of the actual wall with a tape measure in the shot is the most useful thing you can send.
A common sign-industry rule of thumb is about one inch of capital-letter height for every 10 feet of viewing distance when the lettering has to catch attention, with bold capitals staying readable out to roughly 30 to 40 feet per inch. Work out where visitors actually are when the lettering has to do its job:
Measure capital-letter height (the top of an “E” to its baseline), not the height of the whole line.
Many rental and modular booth walls are built from panels joined at seams or frame extrusions. Vinyl can cross a flat, tight seam, but it should be cut at a raised frame or a gap so each panel can come apart at teardown. Note the panel widths and where the seams fall. Large layouts are cut into numbered sections that break at the seams and line up again on registration marks.
Cut vinyl needs a hard, smooth surface: laminate, painted hard walls, Sintra or foam board, glass, acrylic or aluminum. It won’t hold on fabric, SEG or tension-fabric panels. If your booth walls are fabric, put the lettering on a rigid panel, the counter or the glass instead. Flat or chalky paint and freshly painted walls are a risk for removable vinyl as well.
With those, the booth lettering configurator shows a live estimate, and the proof confirms the final layout and price before anything is cut.
Send the scope and location. We'll match it to certified installers and manage the job through one point of contact.
Request a Quote